A car’s cooling system is a critical component for maintaining optimal engine health and preventing unexpected breakdowns. Car wrecks when its cooling system fails. That’s why, one of the key maintenance tasks is flushing the radiator coolant system. Every car owner must know why and How to Flush a Car’s Radiator Coolant System to ensure its optimal operation.
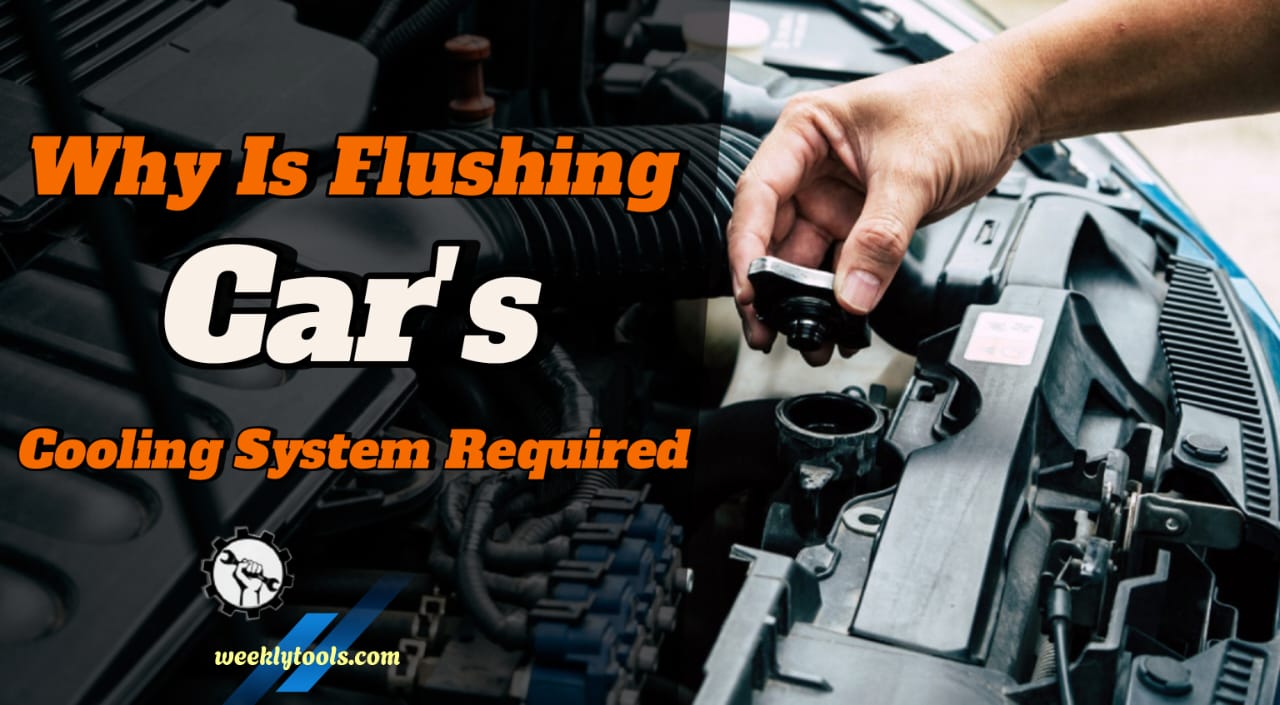
When and Why Is Flushing Car’s Cooling System Required?
Over time, coolant can accumulate particles and contaminants, leading to corrosion and potential engine issues. Here are specific signs that your cooling system needs attention:
Noticeable Change in Coolant Color and Consistency
The coolant appears discolored or has an unusual consistency. Altered coolant properties may indicate contamination, reducing its effectiveness and are obvious sign for replacement.
Low Coolant Warning Light
When the low coolant warning light on your dashboard is illuminated, you can’t ignore it. This signals a decrease in coolant levels, which can result in inefficient heat dissipation and potential engine overheating.
Engine Temperature Gauge in the Red Zone
The engine temperature gauge reads in the red zone. Elevated temperatures indicate an inefficient cooling system, posing a risk of engine damage if not addressed promptly.
Cool Air from Vents on Hot Settings
Despite selecting hot settings, cool air emanates from the vents. Inadequate coolant circulation may lead to insufficient heating, affecting both passenger comfort and engine performance.
Warning Lights on the Dashboard
Dashboard warning lights related to the cooling system are activated. Various warning lights, such as those indicating overheating or system malfunctions, highlight potential issues demanding immediate attention.
Addressing these signs promptly through a cooling system flush can prevent complications, enhance heat dissipation efficiency, and contribute to the overall longevity of your vehicle’s engine.
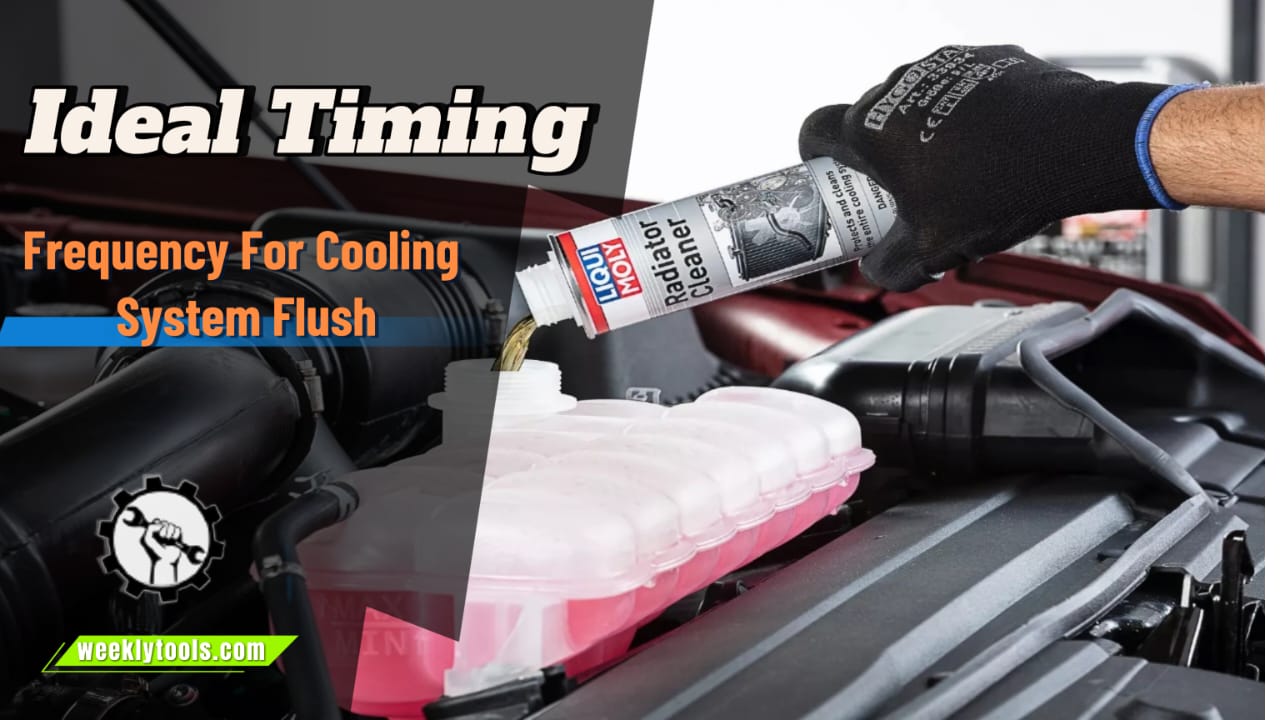
Ideal Timing and Frequency for Cooling System Flush
The frequency of flushing your cooling system varies, and multiple factors play a role in establishing the correct interval. Here are key considerations:
- The Car Age: The age of your vehicle is the key factor. Generally speaking, older vehicles may require more frequent flushing to mitigate the effects of accumulated contaminants and ensure optimal cooling system performance.
- Driving Conditions: Your typical driving conditions(or style) as play a significant role. Harsher driving conditions, such as frequent stop-and-go traffic or extreme temperatures, may necessitate more frequent flushes to maintain coolant effectiveness.
- Type of Coolant Used: Different coolants have distinct lifespans and performance characteristics. Some may require more frequent changes for optimal functioning. Some manufacturers even mandate specific type of coolant for their cars.
To determine the precise interval for your vehicle, consult your car’s handbook or refer to the instructions provided by the coolant manufacturer. Following recommended guidelines ensures that your cooling system remains efficient, helping to prevent corrosion, maintain proper heat dissipation, and extend the overall lifespan of your engine.
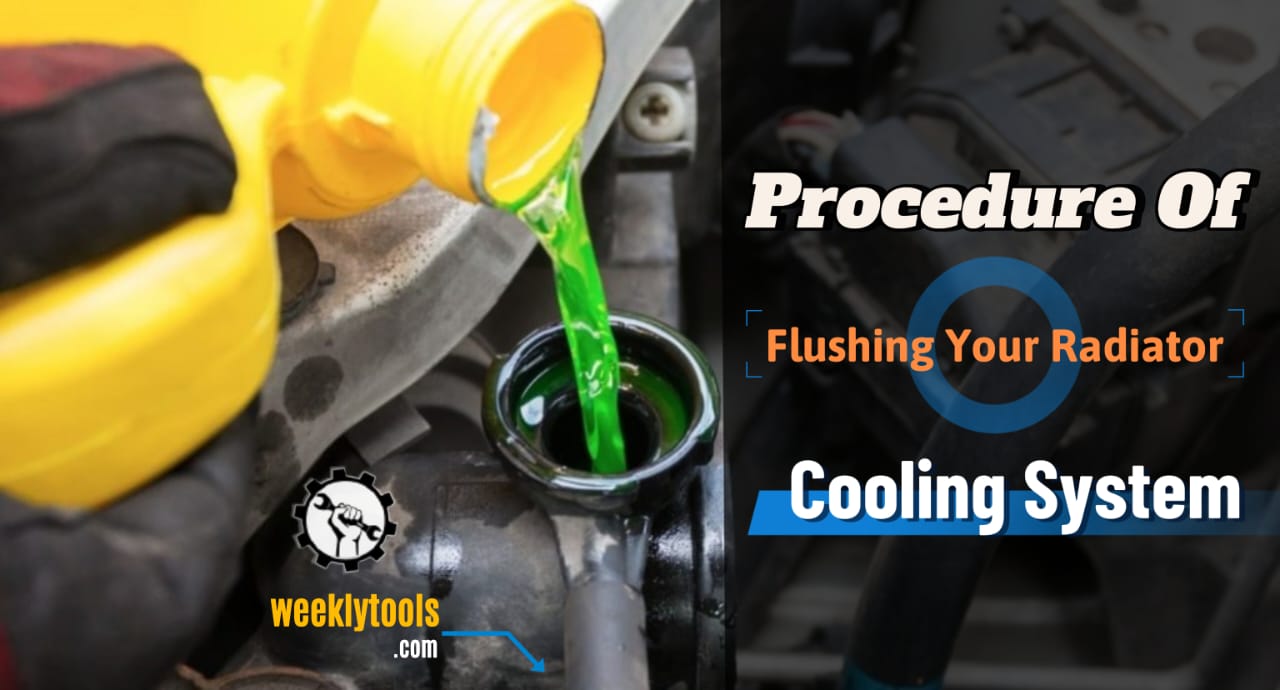
Procedure of Flushing Your Radiator and Cooling System
Flushing your car’s radiator and cooling system isn’t rocket science but it will have an expected result with correct procedure. If you want to give a shot on DIY flush, you can follow these bulletproof steps:
Step 1: Cool Down Your Engine
Before starting the flushing process, it is crucial to guarantee that the engine has cooled down completely. Attempting a flush with a hot engine is not only impractical but could also pose safety risks, as coolant retains heat for an extended period. Allow the engine to cool entirely before initiating the process.
Step 2: Lift Up Your Car(If Necessary)
For enhanced access to the radiator drainage point, consider lifting the front of the car by using a jack. This optional step facilitates easier navigation during the flushing procedure, especially if your car has a lower clearance.
Step 3: Preparation Cleaning
Thoroughly cleaning the radiator is a critical preparatory step before you can start flushing it. Focus on the area around the cap, using warm, soapy water to eliminate any dirt or debris. This preventive measure ensures that no contaminants enter the system during the flush.
Step 4: Inspect The Radiator and Hoses
While the car is elevated, conduct a thorough inspection of the radiator and hoses. Look for any signs of rust, corrosion, physical damage, or leaks. Identifying and addressing these issues at this stage can prevent potential complications down the line.
Step 5: Set Up A Collecting Container
Position a suitable container, such as a pan, bucket, or bowl, beneath the radiator drainage valve. This container will collect the old coolant as it is drained from the system. This step allows a smoother flushing procedure and you can avoid mess during and after the process.
Step 6: Properly Drain the Radiator
With gloves on, open the drainage valve to allow the old coolant to flow into the container. Once the flow reduces to a drip, tighten the valve in preparation for the subsequent steps. Proper disposal of the old coolant is essential for environmental responsibility.
Step 7: Do The System Flush
Top up the radiator with clean water and start the engine. Allow it to run for approximately 15 minutes, ensuring the water circulates through the system. After this, allow the engine to cool before repeating the drainage process. This step helps remove any residual water from the system.
Step 8: Fill It Up with New Coolant
Following the manufacturer’s instructions, refill the cooling system with fresh, suitable coolant. Ensure proper bleeding of air pockets from the system before sealing the radiator. This step is crucial for optimal coolant performance and the prevention of airlock issues(you don’t want that).
By meticulously following these steps, you not only maintain the health of your radiator and cooling system but also contribute to the overall longevity and efficiency of your vehicle’s engine.
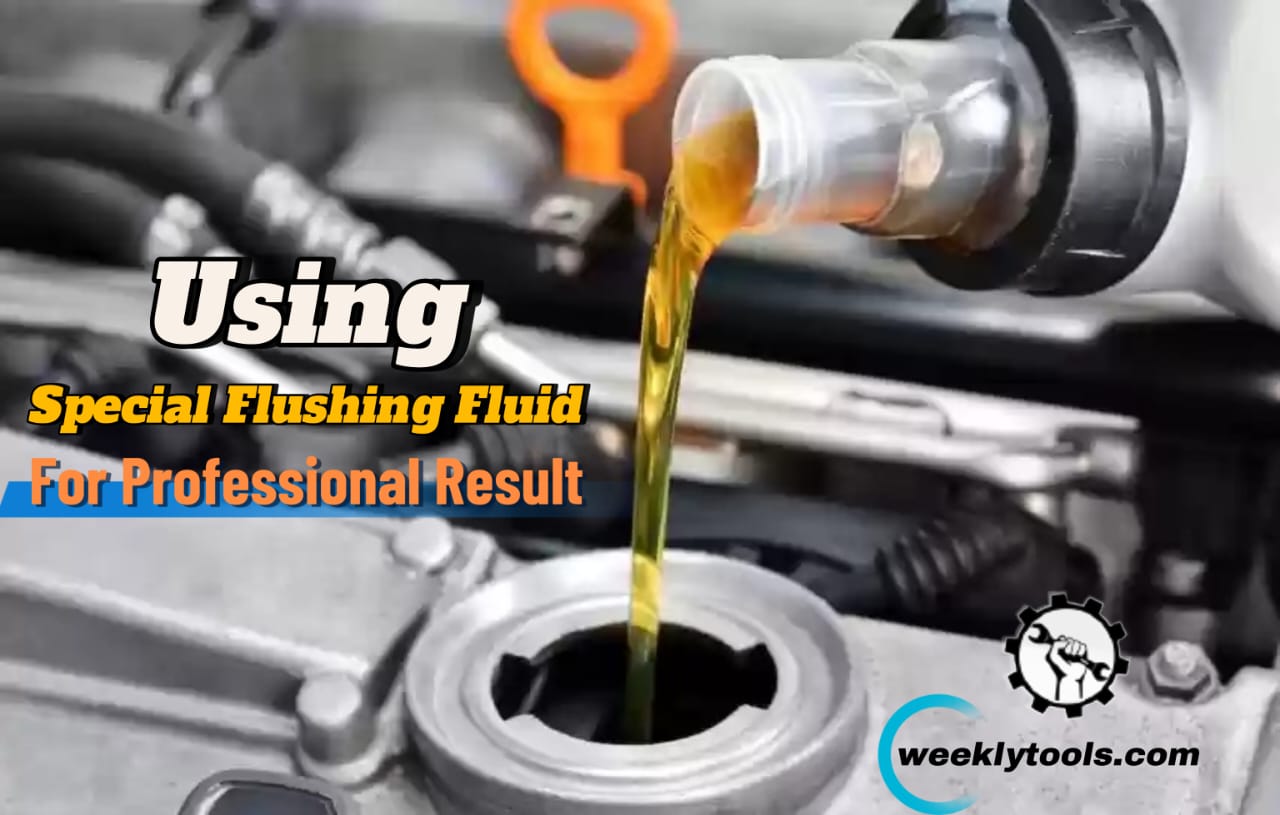
Using Special Flushing Fluid for Professional Results
For a comprehensive and professional cooling system flush, the utilization of special flushing fluid is highly recommended. There are some flushing fluid products available in the market that offer generally smoother procedure and better results. Follow these detailed steps to achieve optimal results:
1. Drain the cooling system
Commence the process by draining the cooling system following the specific instructions explained above. This not only ensures a systematic and efficient removal of the old coolant but allows the special flushing liquid to work more properly.
2. Pour special flushing fluid
Add the recommended amount of special flushing fluid into the expansion tank. Top it up with water to the specified level, adhering to the product guidelines. Ensure the good mix of the fluid and the water.
3. Start The Flushing Process
Start the engine and allow it to run for a duration of 45-60 minutes, much longer than water-based flushing procedure. This extended runtime facilitates the thorough circulation of the flush through the system, effectively eliminating scale, corrosion, and oil contamination.
4. Drain the Cooling System Once More
After the flushing process, drain the system once more. This crucial step ensures the expulsion of any remaining contaminants, leaving the cooling system impeccably clean. special flushing fluid is typically able to retract more contaminants than sole water.
5. Water Flushing
Conduct a comprehensive flush with clean water to remove any residual traces of the old coolant and the flush solution. This step prepares the system for the introduction of fresh coolant.
6. Fill with The New Coolant
Once the system is meticulously cleaned, proceed to fill it with new coolant according to the manufacturer’s instructions. This final step guarantees maximum protection for your car’s cooling system, ensuring optimal performance and longevity.
By adhering to these precise steps and incorporating special flushing fluid into your maintenance routine, you not only enhance the efficiency of your cooling system but also contribute to the prolonged health of your vehicle’s engine.
More Tips for Radiator and Cooling System Maintenance
1. Regular Inspection for Optimal Performance
Conduct regular inspections inside the radiator to preemptively address potential issues. Look for signs of clogs, dirt accumulation, or sediment deposits. Utilize a soft brush for meticulous cleaning when necessary.
Inspect the radiator fins for damage or bending, as this can impede proper airflow. Straighten any bent fins carefully to maintain optimal cooling efficiency.
2. Scheduled Flushing
Implement regular radiator flushes, preferably, using a coolant flush kit. This proactive measure effectively eliminates buildup on the walls of the cooling system, preventing the development of clogs and ensuring efficient heat dissipation.
Consider using a high-quality radiator flush solution during the flushing process to break down stubborn deposits and enhance the overall cleaning effectiveness.
3. Check and Change Coolant at Recommended Intervals
Regularly check the coolant levels and adhere to the manufacturer’s instructions for timely replacements. Aging coolant can lead to the formation of clogs within the radiator, hindering its functionality. At this point, you can opt for coolant with corrosion inhibitors for added protection against rust and scale formation within the radiator.
4. Secure Connections in The System
Verify that hoses, caps, and all connections associated with the radiator are secure, undamaged, and correctly installed. A secure and well-maintained connection system is essential for optimal cooling system performance. You can also apply a thin layer of silicone grease to the radiator cap’s rubber gasket during reinstallation to maintain a proper seal and prevent coolant leaks.
5. Take A Professional Service
You can DIY most of the time, but it’s recommended to schedule professional maintenance with a qualified mechanic at least once a year. Professional servicing ensures a thorough examination of all components, including the radiator system, identifying potential issues before they escalate.
Request a pressure test during professional maintenance to assess the integrity of the radiator and identify any potential leaks that may not be visible during a visual inspection.
FAQs
What is the difference between a coolant flush and a radiator flush?
A coolant flush is synonymous with a radiator flush. Both terms refer to a procedure aimed at cleaning your vehicle’s cooling system, eliminating sediment and rust. The coolant is vital for preventing engine overheating during operation and freezing in cold weather when the vehicle is not running.
How do you know if your coolant system is clogged?
Indicators of a clogged radiator, apart from your vehicle running hot, include cracks in radiator hoses, low coolant levels, the presence of rusty-looking coolant, and coolant leakage.
Can a radiator flush cause problems?
Yes and no. While a radiator flush effectively removes corrosion, debris, rust, and contaminants, an incomplete flush may loosen these elements, potentially leading to clogs in the cooling system, including the radiator.
How do I know if my coolant is circulating?
To verify proper coolant circulation, check the temperature of the upper and lower radiator hoses. The upper hose should be hot, registering around 190–200 °F. For the most accurate temperature reading, an infrared thermometer is recommended.

What happens if the coolant system is not bled?
Failure to bleed the coolant system may result in engine overheating, causing severe damage. Trapped air pockets disrupt uniform coolant distribution, leading to some areas having too much coolant and others too little. This imbalance creates hot spots, contributing to overheating and potential engine damage.

As a mechanical engineer, it’s easy for David to explain the functionality of the tool. David test most of the tools before writing a review. its help him to learn something new and suggest the best product for you.