Replacing your cabin air filter is an essential maintenance task that keeps the air inside your vehicle clean. The cabin air filter removes contaminants like dust, pollen, and dirt from the air entering your car through the ventilation system.
Over time, the filter can become clogged, reducing airflow and potentially introducing unpleasant odors. Fortunately, replacing your cabin air filter is a straightforward process that you can easily do yourself.
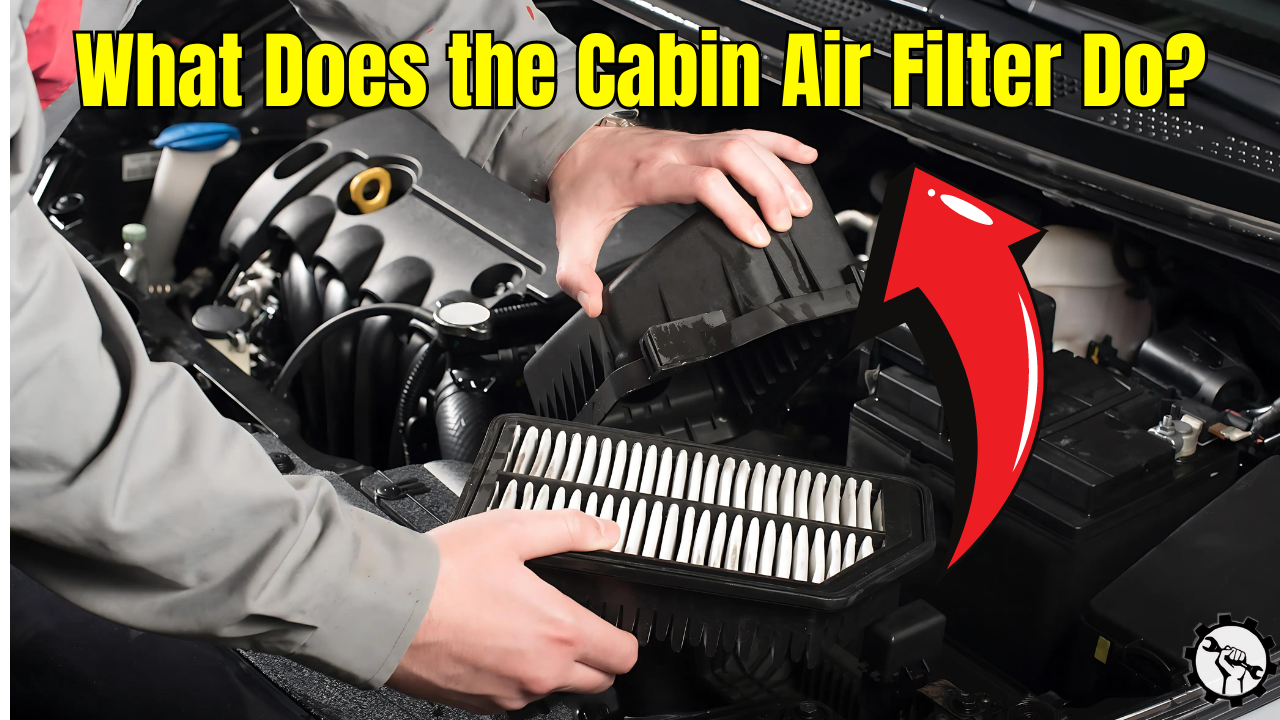
What Does the Cabin Air Filter Do?
The cabin air filter is responsible for purifying the air that enters your vehicle’s interior through the HVAC (heating, ventilation, and air conditioning) system. It traps airborne particles such as dust, pollen, allergens, and road debris, preventing them from circulating inside your car. Some filters also contain activated charcoal, which helps to reduce odors.
When Does the Cabin Air Filter Need A Replacement?
Common signs that your cabin air filter needs replacement include a musty or unpleasant odor when the HVAC system is on, reduced airflow through the vents, and increased dust or allergens inside the cabin.
If you or your passengers experience more frequent allergies or respiratory issues, it could also indicate that your cabin air filter is clogged or no longer effectively filtering out contaminants.
Regularly checking your filter can help prevent these issues and ensure clean air circulation inside your vehicle.
How Often Should You Change the Cabin Air Filter?
Typically, you should replace your cabin air filter every 15,000 to 30,000 miles, or once a year, depending on your driving conditions. If you frequently drive on dirt roads or in heavy traffic, you may need to replace it more often.
As previously mentioned, signs that your cabin air filter needs replacement include reduced airflow from the vents, a musty odor inside the vehicle, or visible dirt on the filter.


Steps to Replace Your Cabin Air Filter
If you access the cabin air filter, then you can replace it on your own with simple steps. However, you must be carefully conduct the replacement and ensure using the compatible, quality filter part or simply the original one. You can now follow these steps:
Step1: Safety First
Before you begin, ensure your vehicle is parked on a flat, dry surface with the parking brake engaged. You might want to wear gloves and safety glasses to protect yourself from dust and debris.
Step 2: Locate the Cabin Air Filter
The cabin air filter is typically located behind the glove box, but it can also be found under the hood or beneath the dashboard in some vehicles. Consult your vehicle’s owner’s manual to find the exact location. If the filter is behind the glove box, you’ll need to remove the glove box to access it. This may involve pressing tabs or removing screws.
Step 3: Remove the Old Filter
Once you have access to the filter housing, remove the cover and carefully pull out the old cabin air filter. Take note of the filter’s orientation, as the new filter must be installed in the same direction. If the old filter is visibly dirty or clogged, it’s definitely time for a replacement.
Step 4: Clean the Filter Housing
Before installing the new filter, clean out the filter housing. Use a vacuum or a damp cloth to remove any dust or debris that may have accumulated. Note: don’t try to clean the filter because it can’t be cleaned. Cleaned filter won’t perform well because it’s already damaged due to the cleaning procedure itself.
Step 5: Install the New Filter
Insert the new cabin air filter into the housing, making sure it’s oriented correctly. Most filters have arrows indicating the direction of airflow, which should match the airflow direction indicated on the housing. Once the filter is in place, reattach the cover.
Step 7: Reassemble the Glove Box
If you had to remove the glove box, reinstall it by reversing the steps you took to remove it. Make sure everything is secure before closing the glove box. It’s very important to check all the locks for securing the glove box.
Step 8: Test the Airflow
After replacing the filter, turn on your vehicle’s HVAC system and test the airflow. If the air flows freely and smells fresh, you’ve successfully replaced your cabin air filter. Another way to do this test is by putting an air freshener or car perfume in front of the filter intake and see how quick it can evenly spread out in your car.
Prevention
To keep your vehicle’s air quality in top shape and prevent allergens from building up, consider these steps:
- Regularly vacuum the seats, carpets, and floor mats to keep dust and dirt at bay.
- Clean all surfaces like the dashboard, steering wheel, and door panels to minimize dust buildup.
- Inspect the seals around your doors and windows to make sure they’re intact and keeping out external pollutants.
- Address any spills immediately to avoid the growth of mold.
Verdict
Replacing your cabin air filter is a simple yet important maintenance task that can be done in less than 30 minutes. By keeping your filter clean, you ensure that the air inside your vehicle is fresh and free from harmful contaminants.
Make sure to check your owner’s manual for the recommended replacement interval and keep an eye out for any signs that your filter needs changing. Regularly replacing your cabin air filter will improve the quality of the air you breathe and ensure your vehicle’s HVAC system functions efficiently.

As a mechanical engineer, it’s easy for David to explain the functionality of the tool. David test most of the tools before writing a review. its help him to learn something new and suggest the best product for you.